Here’s a step-by-step guide to replacing the front crankshaft seal on a David Brown 1212. The process should be very similar for other models from the same era—so if you’ve got something like a 1210 or 990, most of this should still apply.
The advice in this guide was pulled together from a post on the David Brown Tractor Owners, Operators and Enthusiasts Group on Facebook (thanks to James L. for the original info!).
Disclaimer: I’m just a David Brown hobbyist sharing what worked for me—I’m not a qualified mechanic. This guide isn’t an official repair manual, so please use your own judgement, take all necessary safety precautions, and double-check anything you’re unsure about before diving in.
1. Drain and Remove Radiator
Start by draining the coolant. You can do this either using the tap on the bottom right side of the radiator or by disconnecting one of the lower water pipes. The tap is usually seized, so it’s safer (and often easier) to just disconnect a water pipe.
Next, disconnect the upper and lower radiator hoses, as well as the upper air intake pipe.
Once everything’s disconnected and drained, remove the two bolts—one on each side of the radiator—that hold it to the chassis.
When the radiator is free, carefully manoeuvre it out to either side of the tractor, watching out for the cooling fan as you go.
2. Loosen Fan Belt and Remove Hydraulic Pump Shaft
Loosen the alternator bracket bolts so you can pivot it enough to slacken the fan belt.
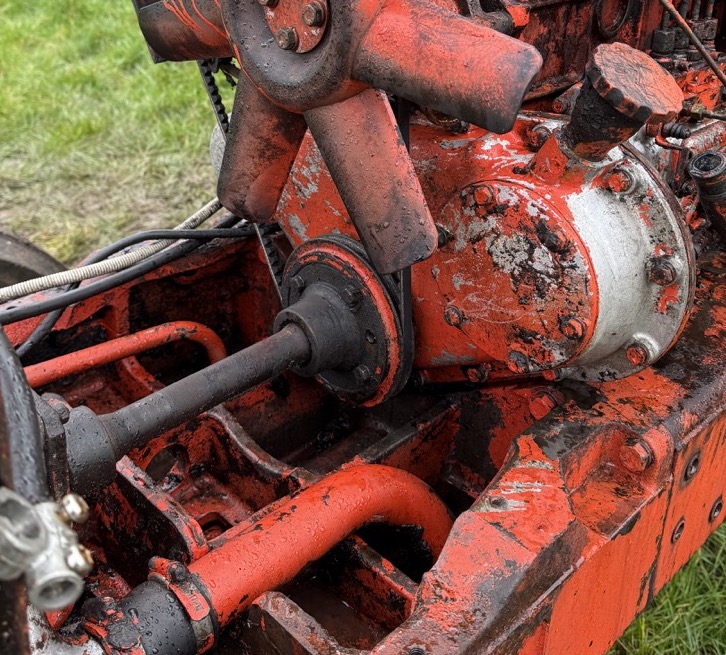
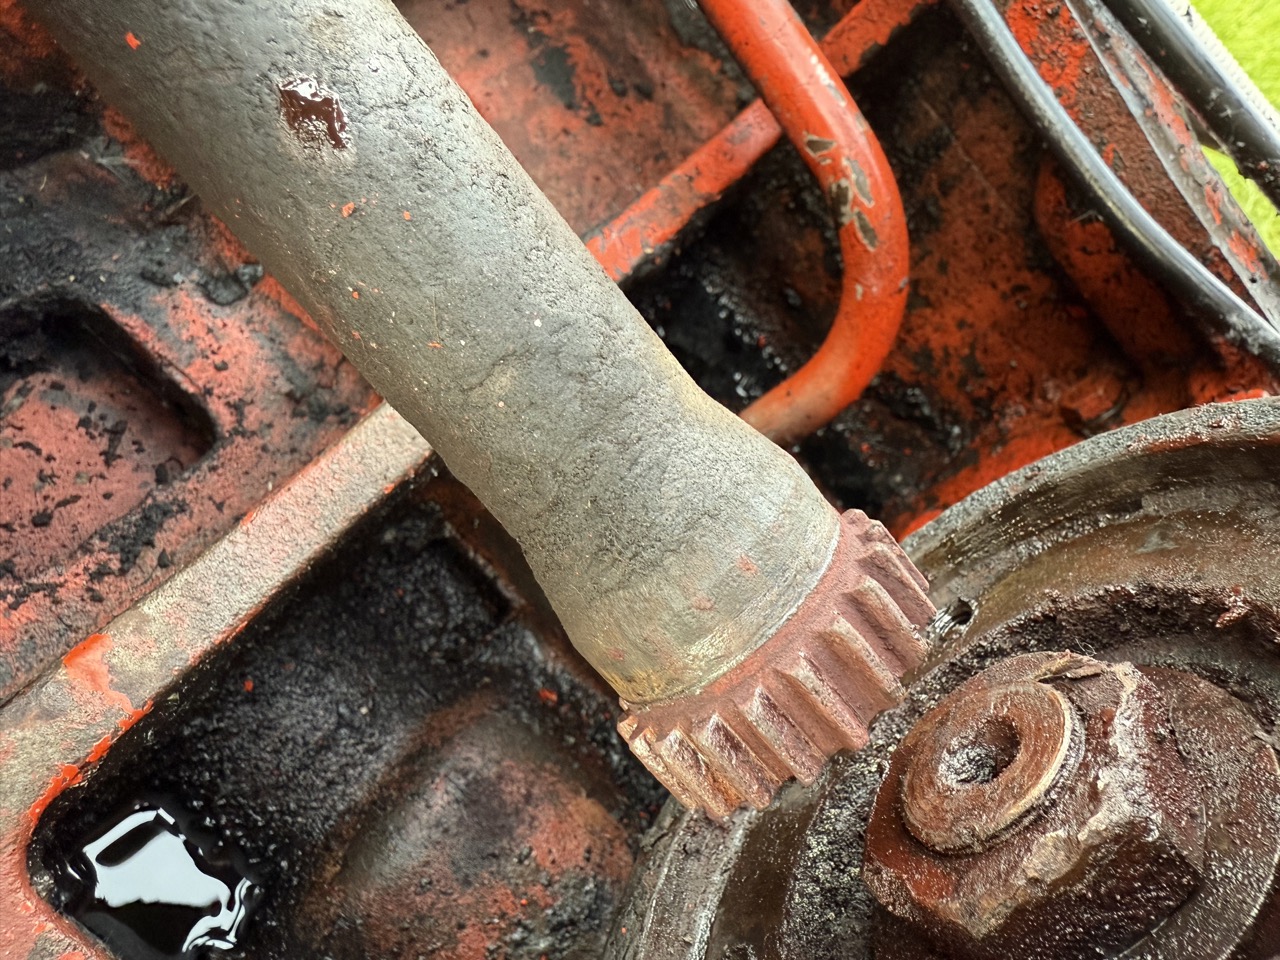
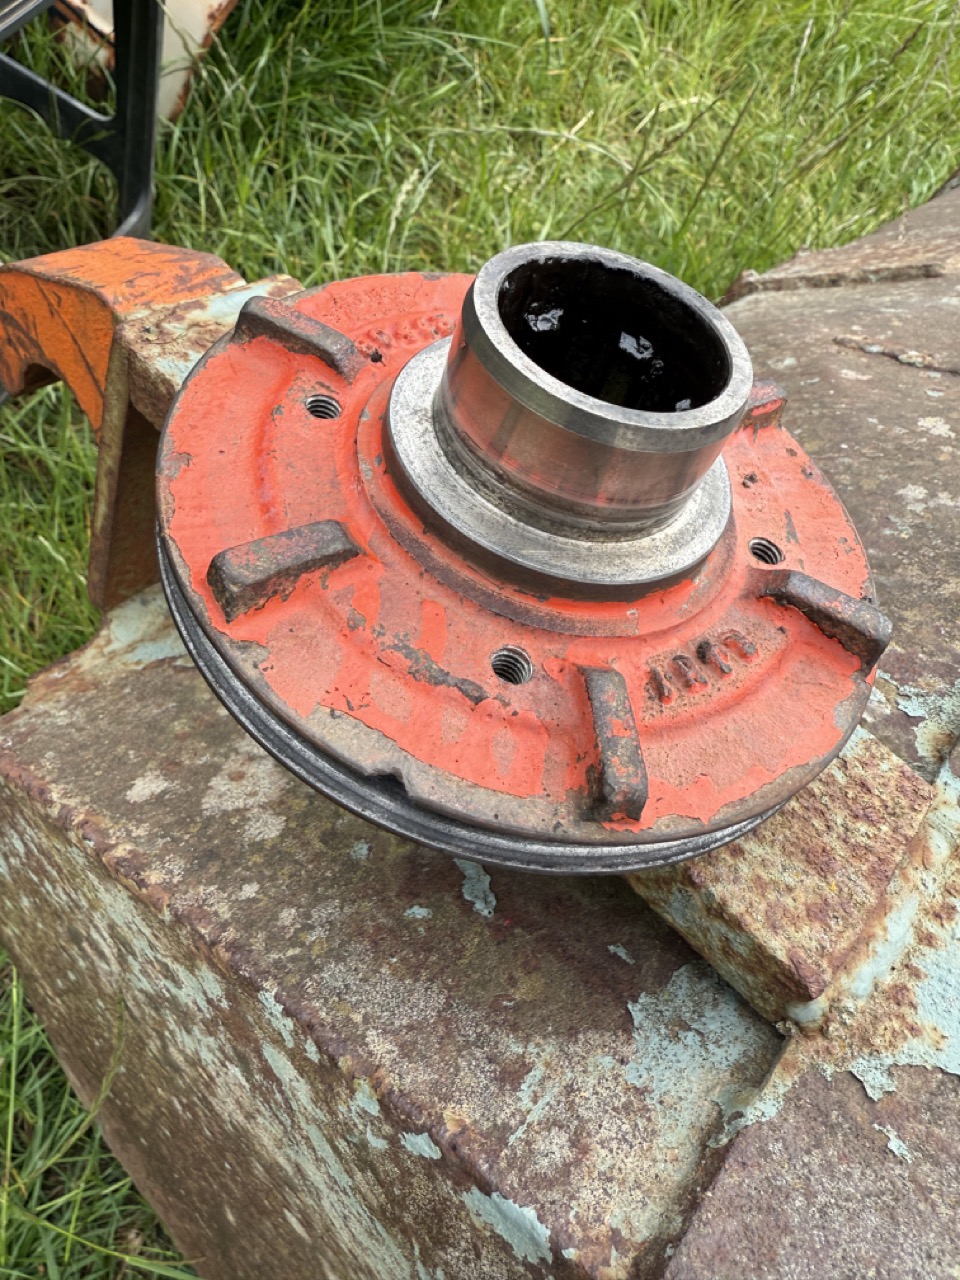
Then, remove the four bolts holding the hydraulic pump shaft coupling to the crankshaft pulley.
You’ll notice two additional threaded holes next to the ones the bolts came out of. Re-insert two bolts into those holes and gradually tighten them alternately to push the coupling away from the pulley. Once it’s separated, you can pull it forward.
With the coupling free, gently pull the other end of the shaft out of the hydraulic pump. Be very careful with the large rubber washer that comes out with it—it retains the grease inside the pump gear.
Now’s a good time to remove the fan belt completely, so it’s not in the way for the next steps.
3. Remove Starter Motor and Crankshaft Pulley
Technically, you don’t have to remove the starter motor—but you’ll struggle to loosen the crankshaft pulley nut without stopping the engine from turning. Removing the starter gives you access to the flywheel, which you can lock in place with a pry bar (and a helpful friend).
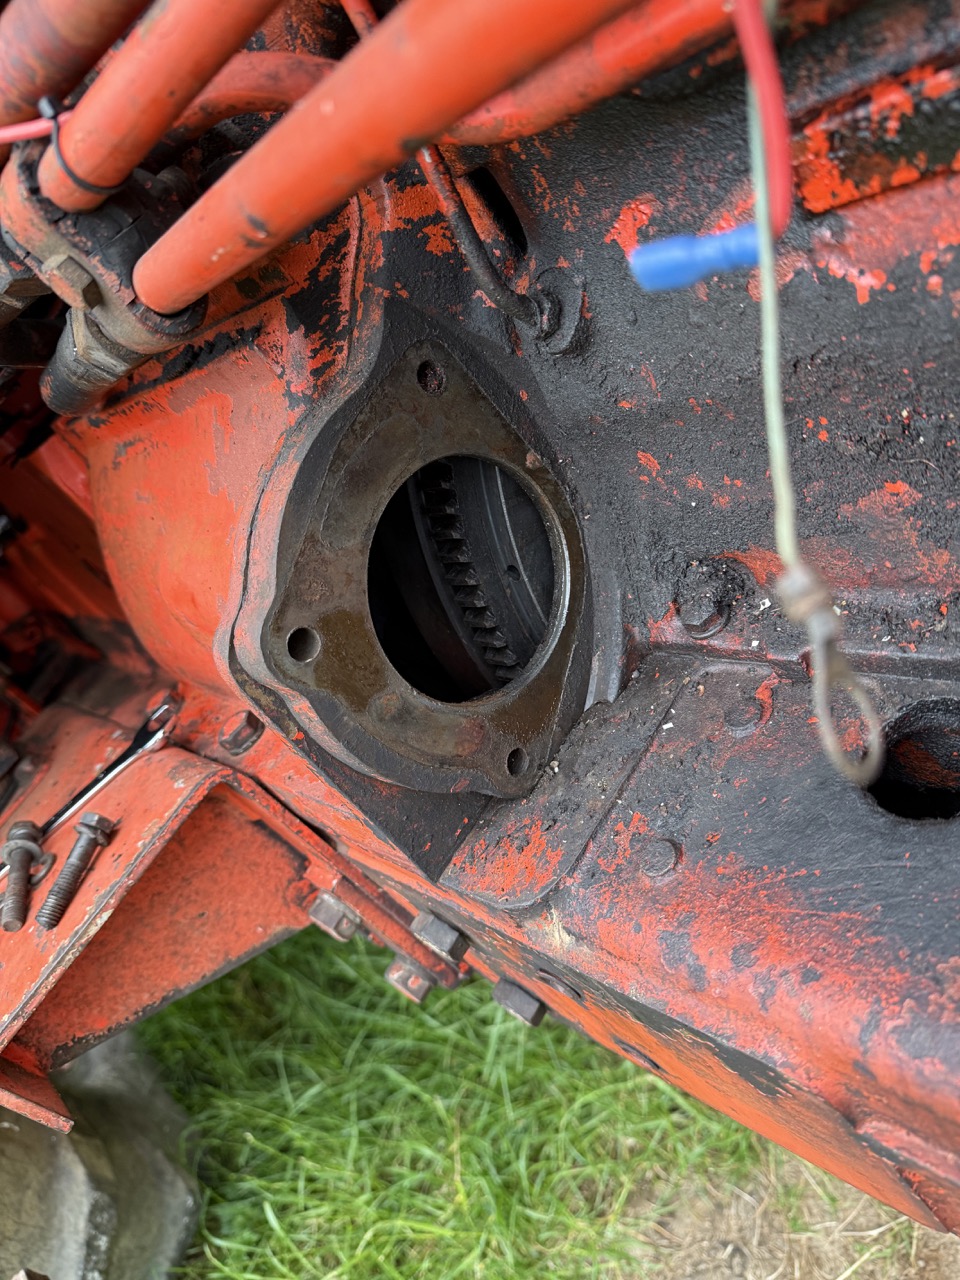
To remove the starter motor:
- First, disconnect the battery.
- Then remove the electrical connections on the back of the starter.
- Finally, take out the two bolts holding it in place and gently remove it.
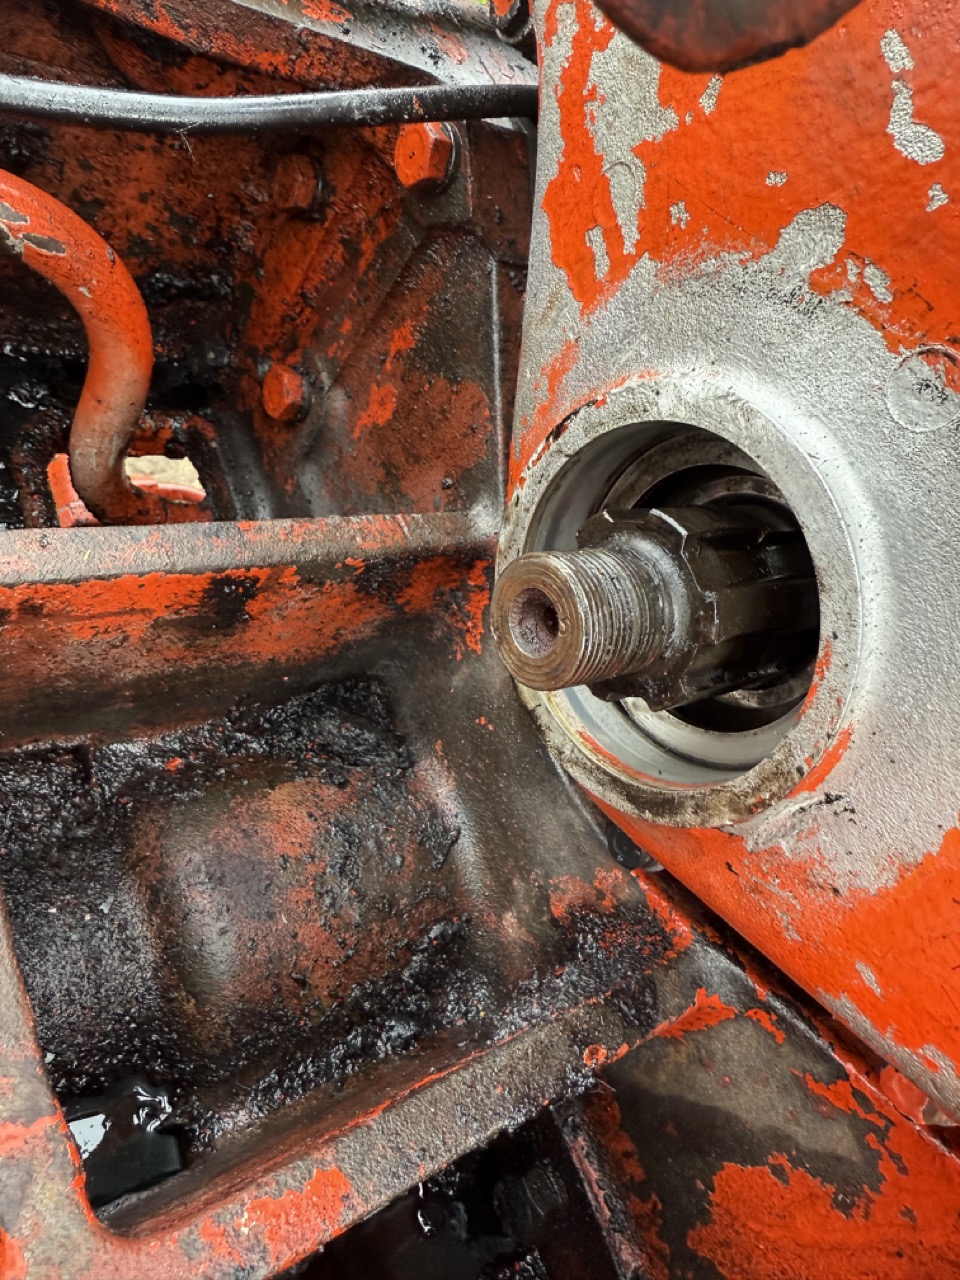
Now, have someone hold a pry bar or large flathead screwdriver in the flywheel teeth, and use a socket (38mm) to remove the large crankshaft nut. The hardest part here is keeping the flywheel from turning while applying enough force to crack the nut loose.
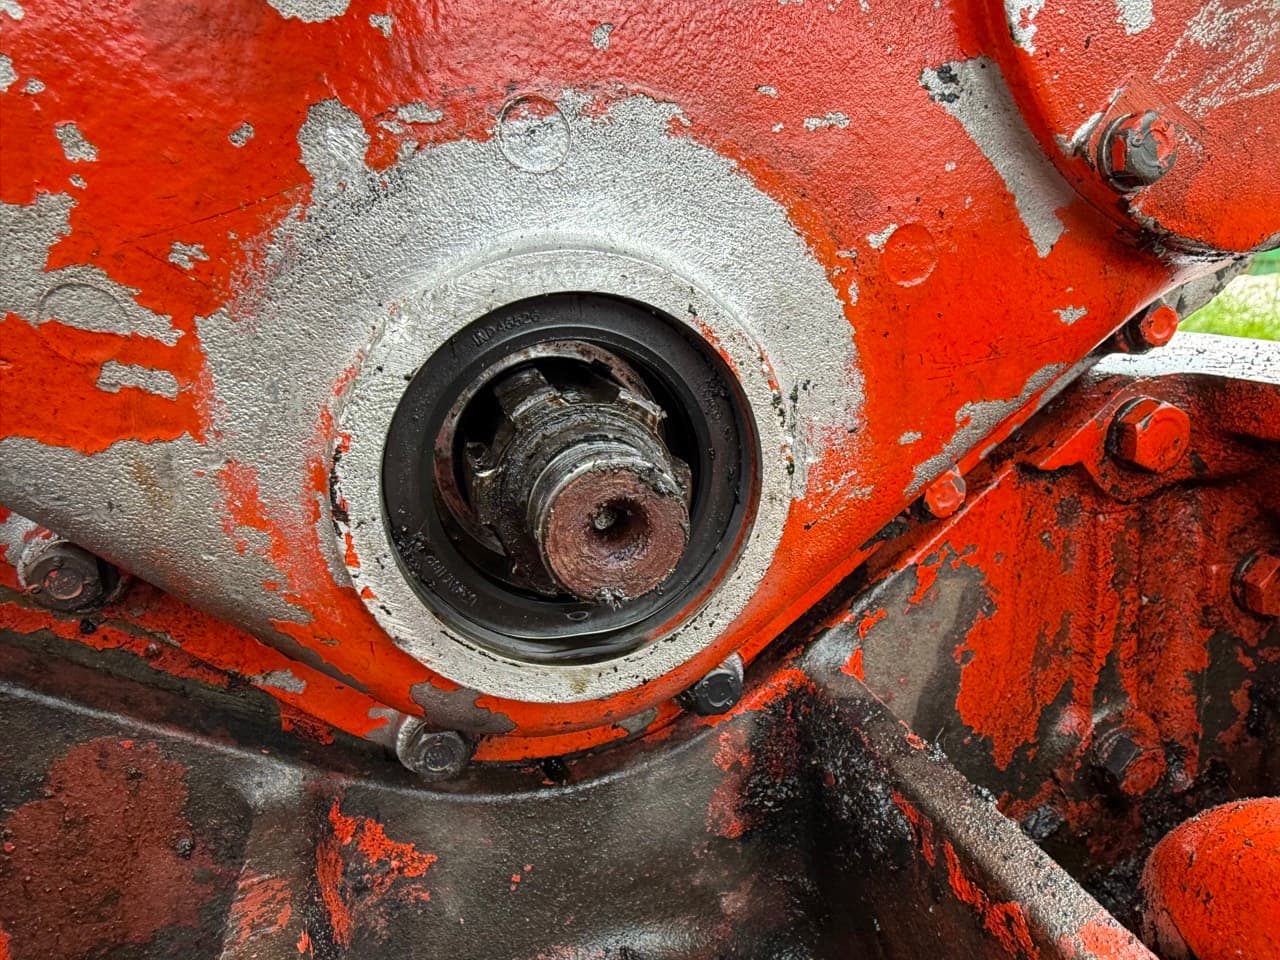
Once the nut is off, you can pull the crankshaft pulley forward to expose the seal. It’s worth taking the time to clean any old oil or gunk off the back of the pulley and shaft surface.
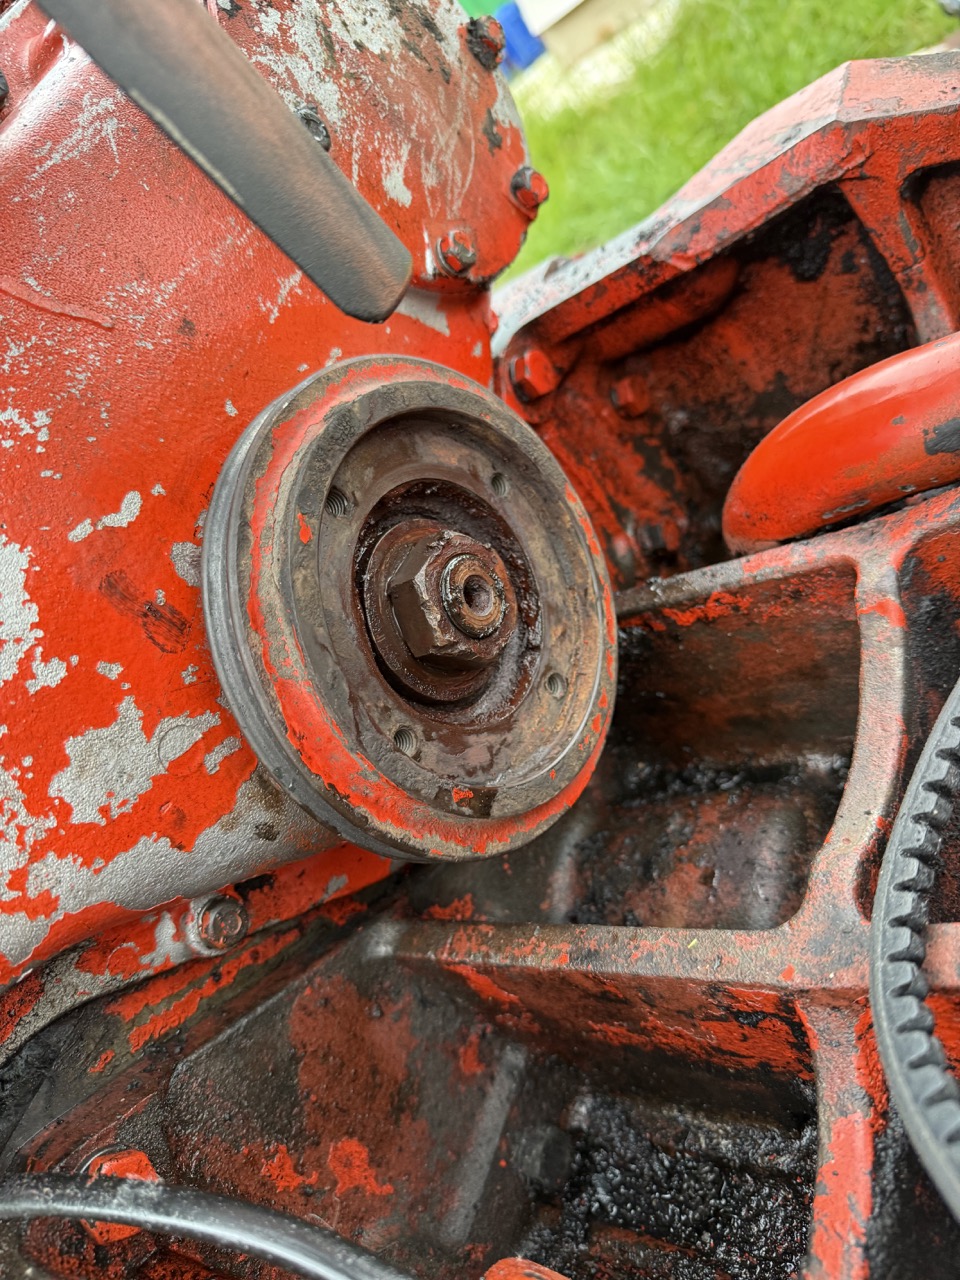
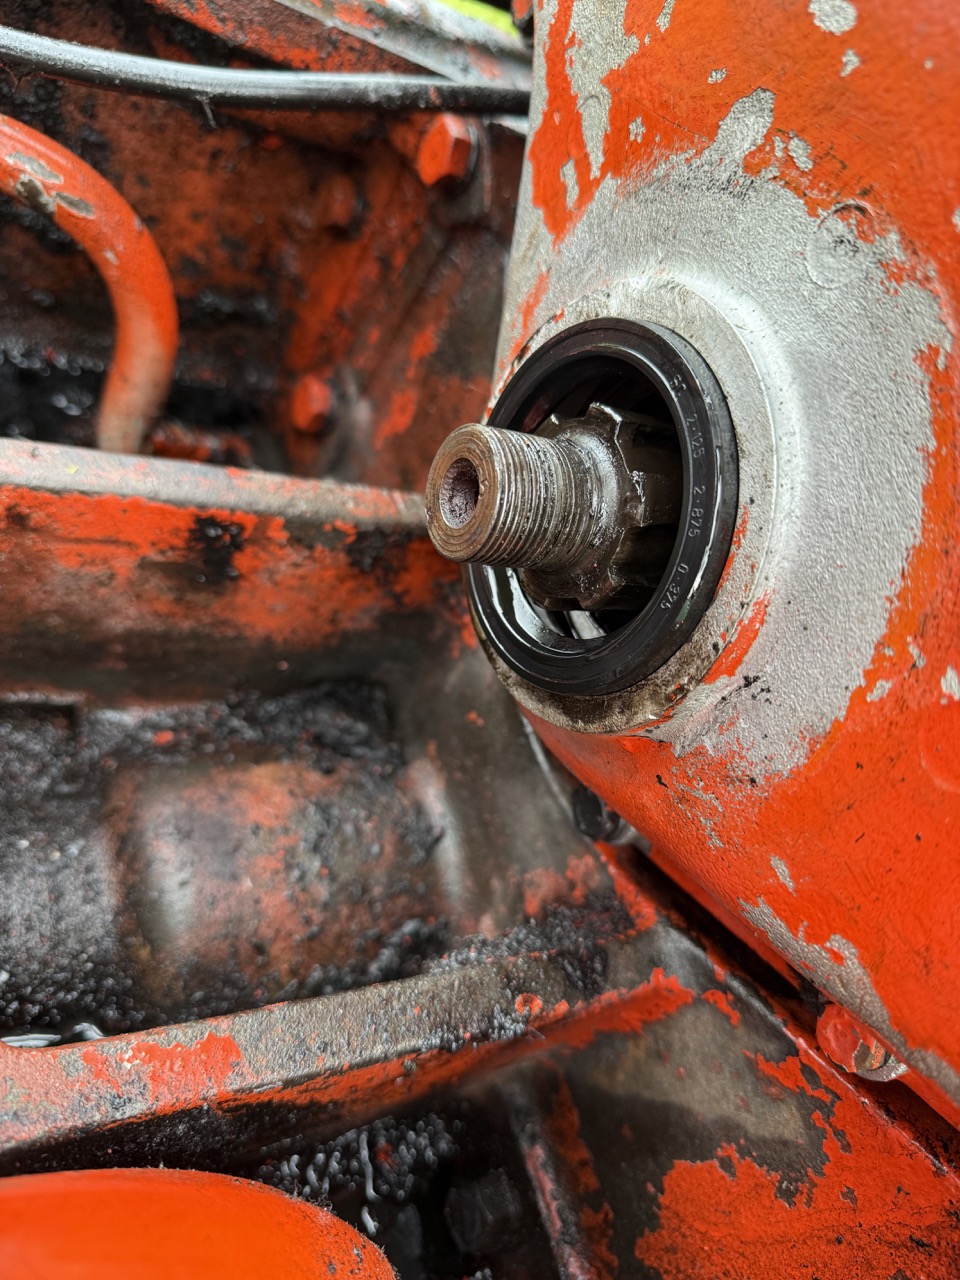
4. Replace the Crankshaft Seal
This can be the trickiest bit—getting the old seal out without damaging the housing.
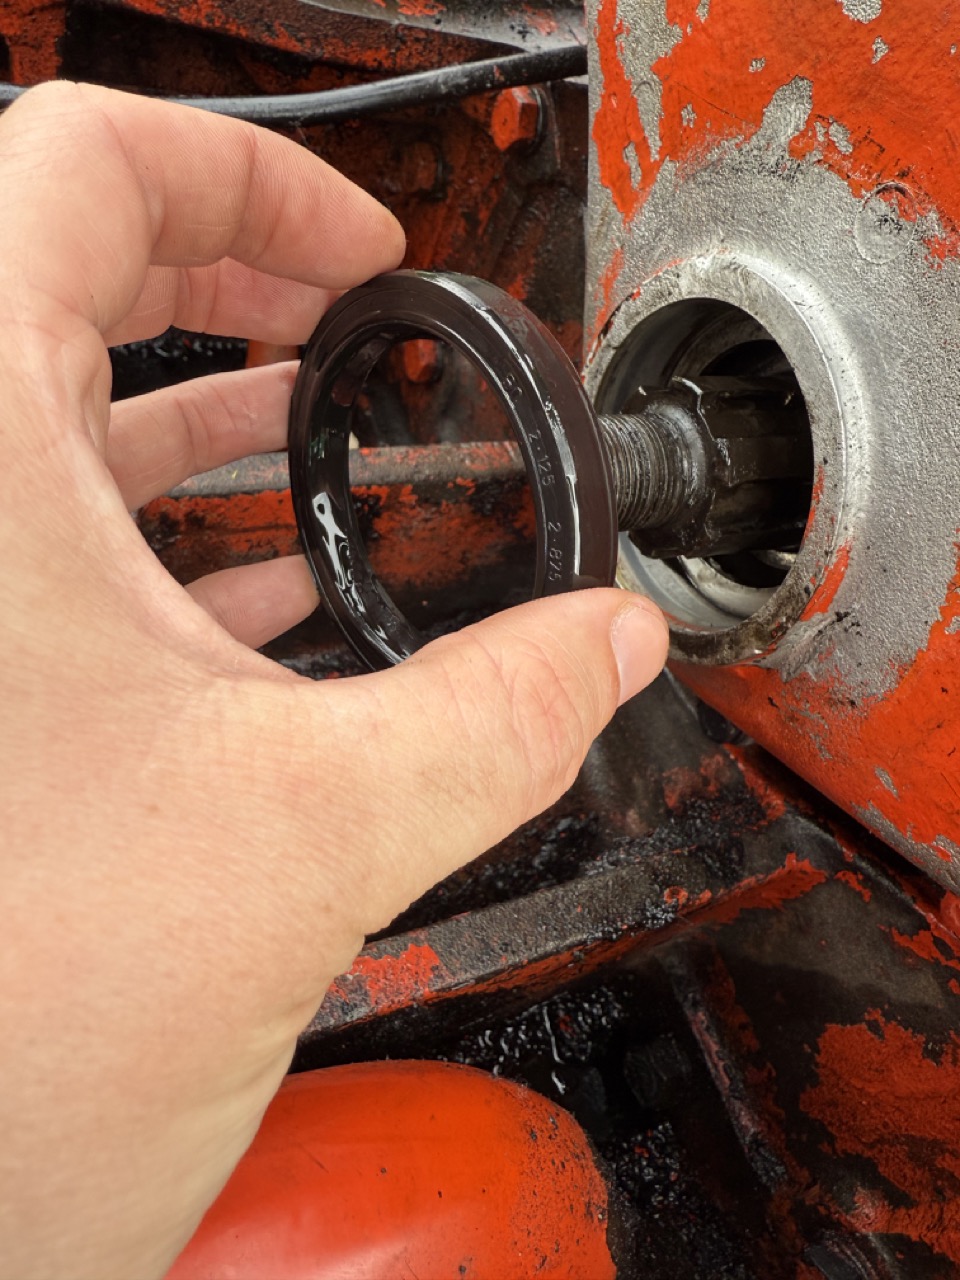
The seal’s probably been in there for decades, so it’s likely to be stubborn. I found the best way was to carefully pry it out using a flat screwdriver, levering against the outer casing (gently!) to avoid scoring anything important.
Once it’s out, lightly coat the outside of the new seal with engine oil to help it slide in. Push it into place by hand to get it started, then you can use a plastic or rubber hammer to tap it further into position.
However, what worked best for me was this:
- Re-fit the crankshaft pulley,
- Re-tighten the nut to press the seal most of the way in,
- Then remove the pulley again and gently use a wide punch and a light hammer to push the seal back just enough so it’s not in contact with the pulley.
Worked a treat.
Now, just reassemble everything in reverse order and refill the radiator.